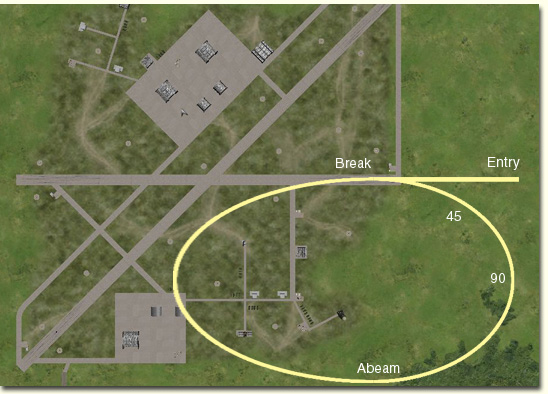
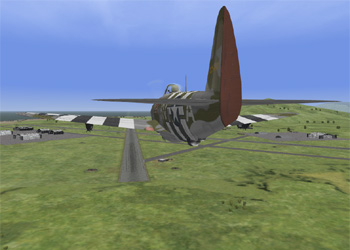
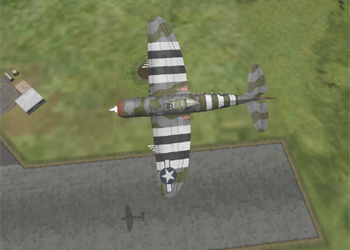
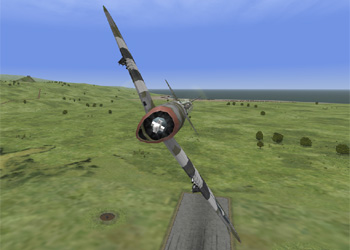
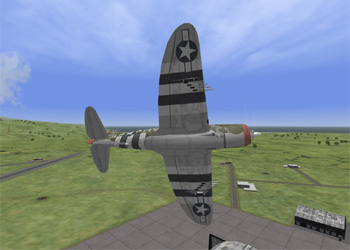
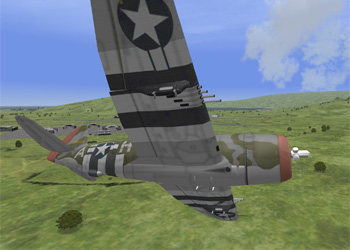
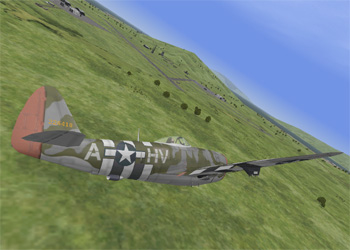
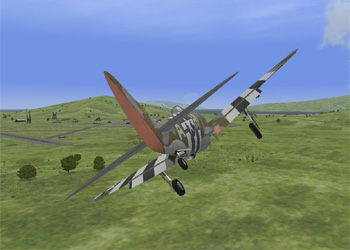
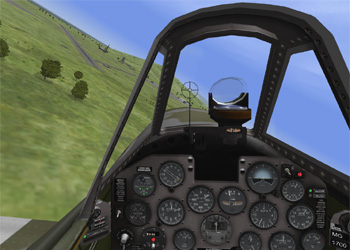
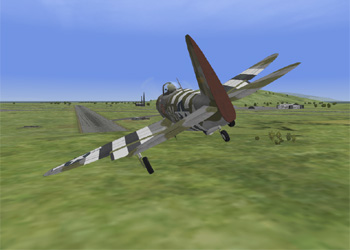
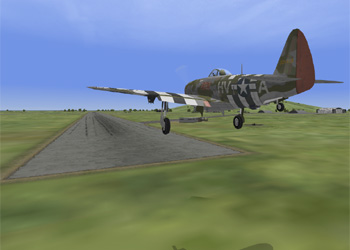
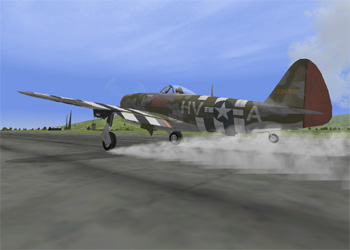
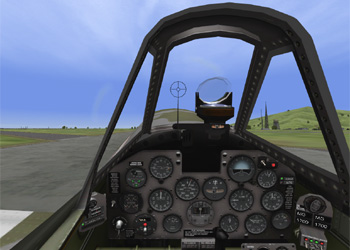
by RolexA combat landing is a compressed version of an "overhead" or "break turn" approach. Military landings do not use the rectangular patterns used in civilian aviation with discrete downwind, base and final legs. The entry to a standard military overhead pattern is usually flown upwind at 1,000' above ground level (AGL) directly overhead (or slightly offset to the right) the runway. At the upwind numbers, the pilot performs the "break," banking left into a high angle of bank (60° to 90°), throttle to idle, pulling up to 6 g's in the crosswind turn to bleed off airspeed until rolling out on the reciprocal heading from the runway. Once established out of the break, you are in the "downwind" and should be approximately 1nm abeam of the runway. Descend to 600' AGL and extend gear and flaps. At the "abeam" position, directly abeam the landing area of the runway, count 15 seconds then begin a continuous descending 180° turn back to the runway at 30° or less of bank, maintaining 140 MPH throughout the turn. Roll out approximately 1,000' from the runway and less than 200' AGL. Work throttle and elevators to be 95-110 MPH over the runway threshold, then reduce throttle and gradually pull back on stick to flair to a smooth touchdown at about 100 MPH. Hold the stick back to lock the tailwheel and steer with rudder while applying brakes <Space Bar>. Controlling your rate of descent is important for all landings. Remember that power controls altitude and elevators control airspeed. To increase rate of descent, decrease power. To decrease your rate of descent, increase power. After you've made a few successful landings, you can practice a combat landing. A long, slow, straight-in approach into an airfield leaves you vulnerable to enemy aircraft and ground vehicles. A combat landing will get you on the ground and in the tower in well under a minute so you can celebrate your victories with a trip to the refrigerator. Approach the field at full speed and full power, descending to 1,200' AGL approximately 5 miles from the field. You'll have plenty of energy available to fight your way into the field, if necessary. The tight pattern will also keep you inside the protective ack of the field. Maintain full throttle and align with the runway, descending to anywhere from 50' to 500' AGL.
Notes: *When using Combat Trim, the aircraft will pitch up when lowering flaps <Q>. You can either push the nose down or add down elevator trim <I> until slight back pressure is necessary to hold the aircraft level. Combat Trim disengages when any trim is used. It's not necessary to use full flaps all the time. If your plane only has one flap setting, extend only if necessary just before landing. Remember that the goal of a combat landing is to get on the ground quickly, not to be a juicy target floating gracefully above the runway for 10 seconds. Most taildraggers are landed on the main gear first, not a 3-point landing. After you've rolled out from the break and begun the 180° turn for landing, your scan outside the cockpit to your landing point increases from mostly outside after the 90 to almost completely outside the cockpit after the 45. Your throttle and control inputs become instinctive from the sight picture. Check the section on the Look Forward to set a view looking down the cowling like you see in these cockpit screenshots. |

Combat Landing
Flight Instruction
Courtesy of Zeno's Warbird Videos
